Applying press-on nails is a convenient and affordable way to achieve a salon-quality manicure at home. Whether you’re a beginner or an experienced nail enthusiast, this article will guide you through the step-by-step process of how to apply press-on nails like a professional. From prepping your natural nails to choosing the right size and shape, we’ll cover all the tips and tricks you need to know to achieve flawless and long-lasting results. So, grab your press-on nails and let’s get started!
*This post may contain affiliate links, which means I will earn a small commission if you purchase through my link. Please see full disclosure for more information.
Table of Contents
Red Aspen
Red Aspen is a direct sales company (or MLM) for full disclosure. I don’t typically do direct sales, but I signed up under Jasmine (Jasmine Rae Hair Co) back in 2019 because I loved the products and wanted a discount. Truly their eyeshadow is the best I’ve ever tried. While I continue to love their products, I have recently switched to an affiliate-only account (fewer commissions, no trying to sign people up, same as any other affiliate links I have) because I won’t ever be trying to sign other people up under me. I will continue to praise the quality of the products, though.
What are Nail Dashes?
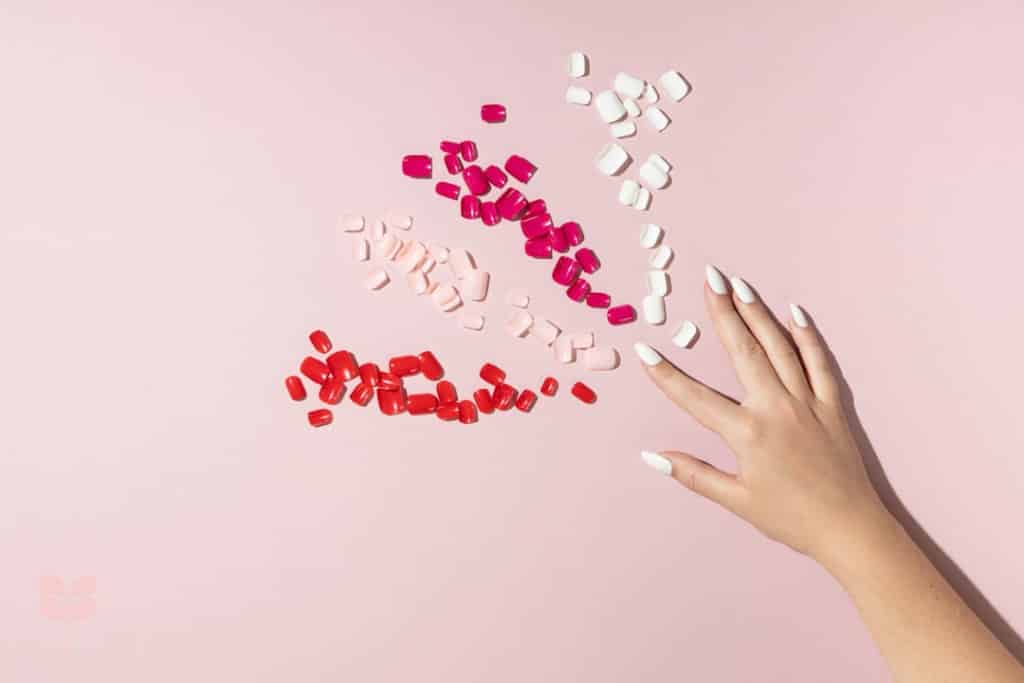
Have you ever wondered how to apply press on nails properly? Or, more importantly, how to apply press on nails to make them last longer? In this post, I will teach you the best tips for applying press-on nails to keep them from popping off, but first, I want to introduce you to nail dashes, the best press-on nails around! Nail Dashes are a press-on, salon-quality manicure for a fraction of the price and time. The benefits of using them are:
- Easy to apply
- Non- damaging
- Apply in minutes
- Variety of shapes, lengths, and finishes not easily achieved with polish, stickers, or wraps. (Side note: Red Aspen nail dashes CAN be used in conjunction with nail wraps such as Color Street, nail dashes provide the length and strength, and wraps add the extra colors and designs!)
- Fraction of salon cost
- Red Aspen Nail Dashes come in petite, short square, medium round, and long coffin nail styles. So they cover the short press on nails and the long press on nails depending on your style. The petite nails are great for those with small nail beds or as press-on nails for kids. My girls have loved the nail dashes, and now as tweens/teens, they can put them on themselves. Almost all nail dashes can be clipped and filed to any shape or length you prefer.
- Each box comes with 24 nails in a wide range of sizes to fit all nail sizes.
Below are my tips for putting on Red Aspen nails, but these tips will work for any press-on nails you have.
How to Put on Red Aspen Nail Dashes
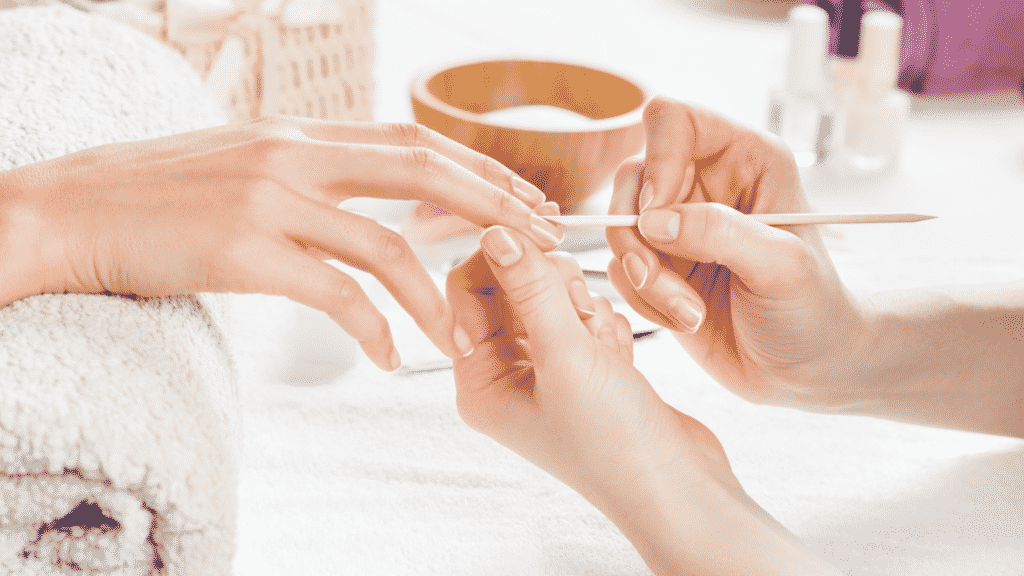
Step 1: Clean Your Nails and Push Back Your Cuticles
One of the first steps when you are wondering how to apply fake nails, is to clean your nails of any leftover nail polish or glue. Then make sure to push back your cuticles. Each box of Red Aspen Nail Dashes comes with a full press-on nail application kit, which includes an orange stick and file, so you have everything you need!
Step 2: Pick Out Your Nail Sizes
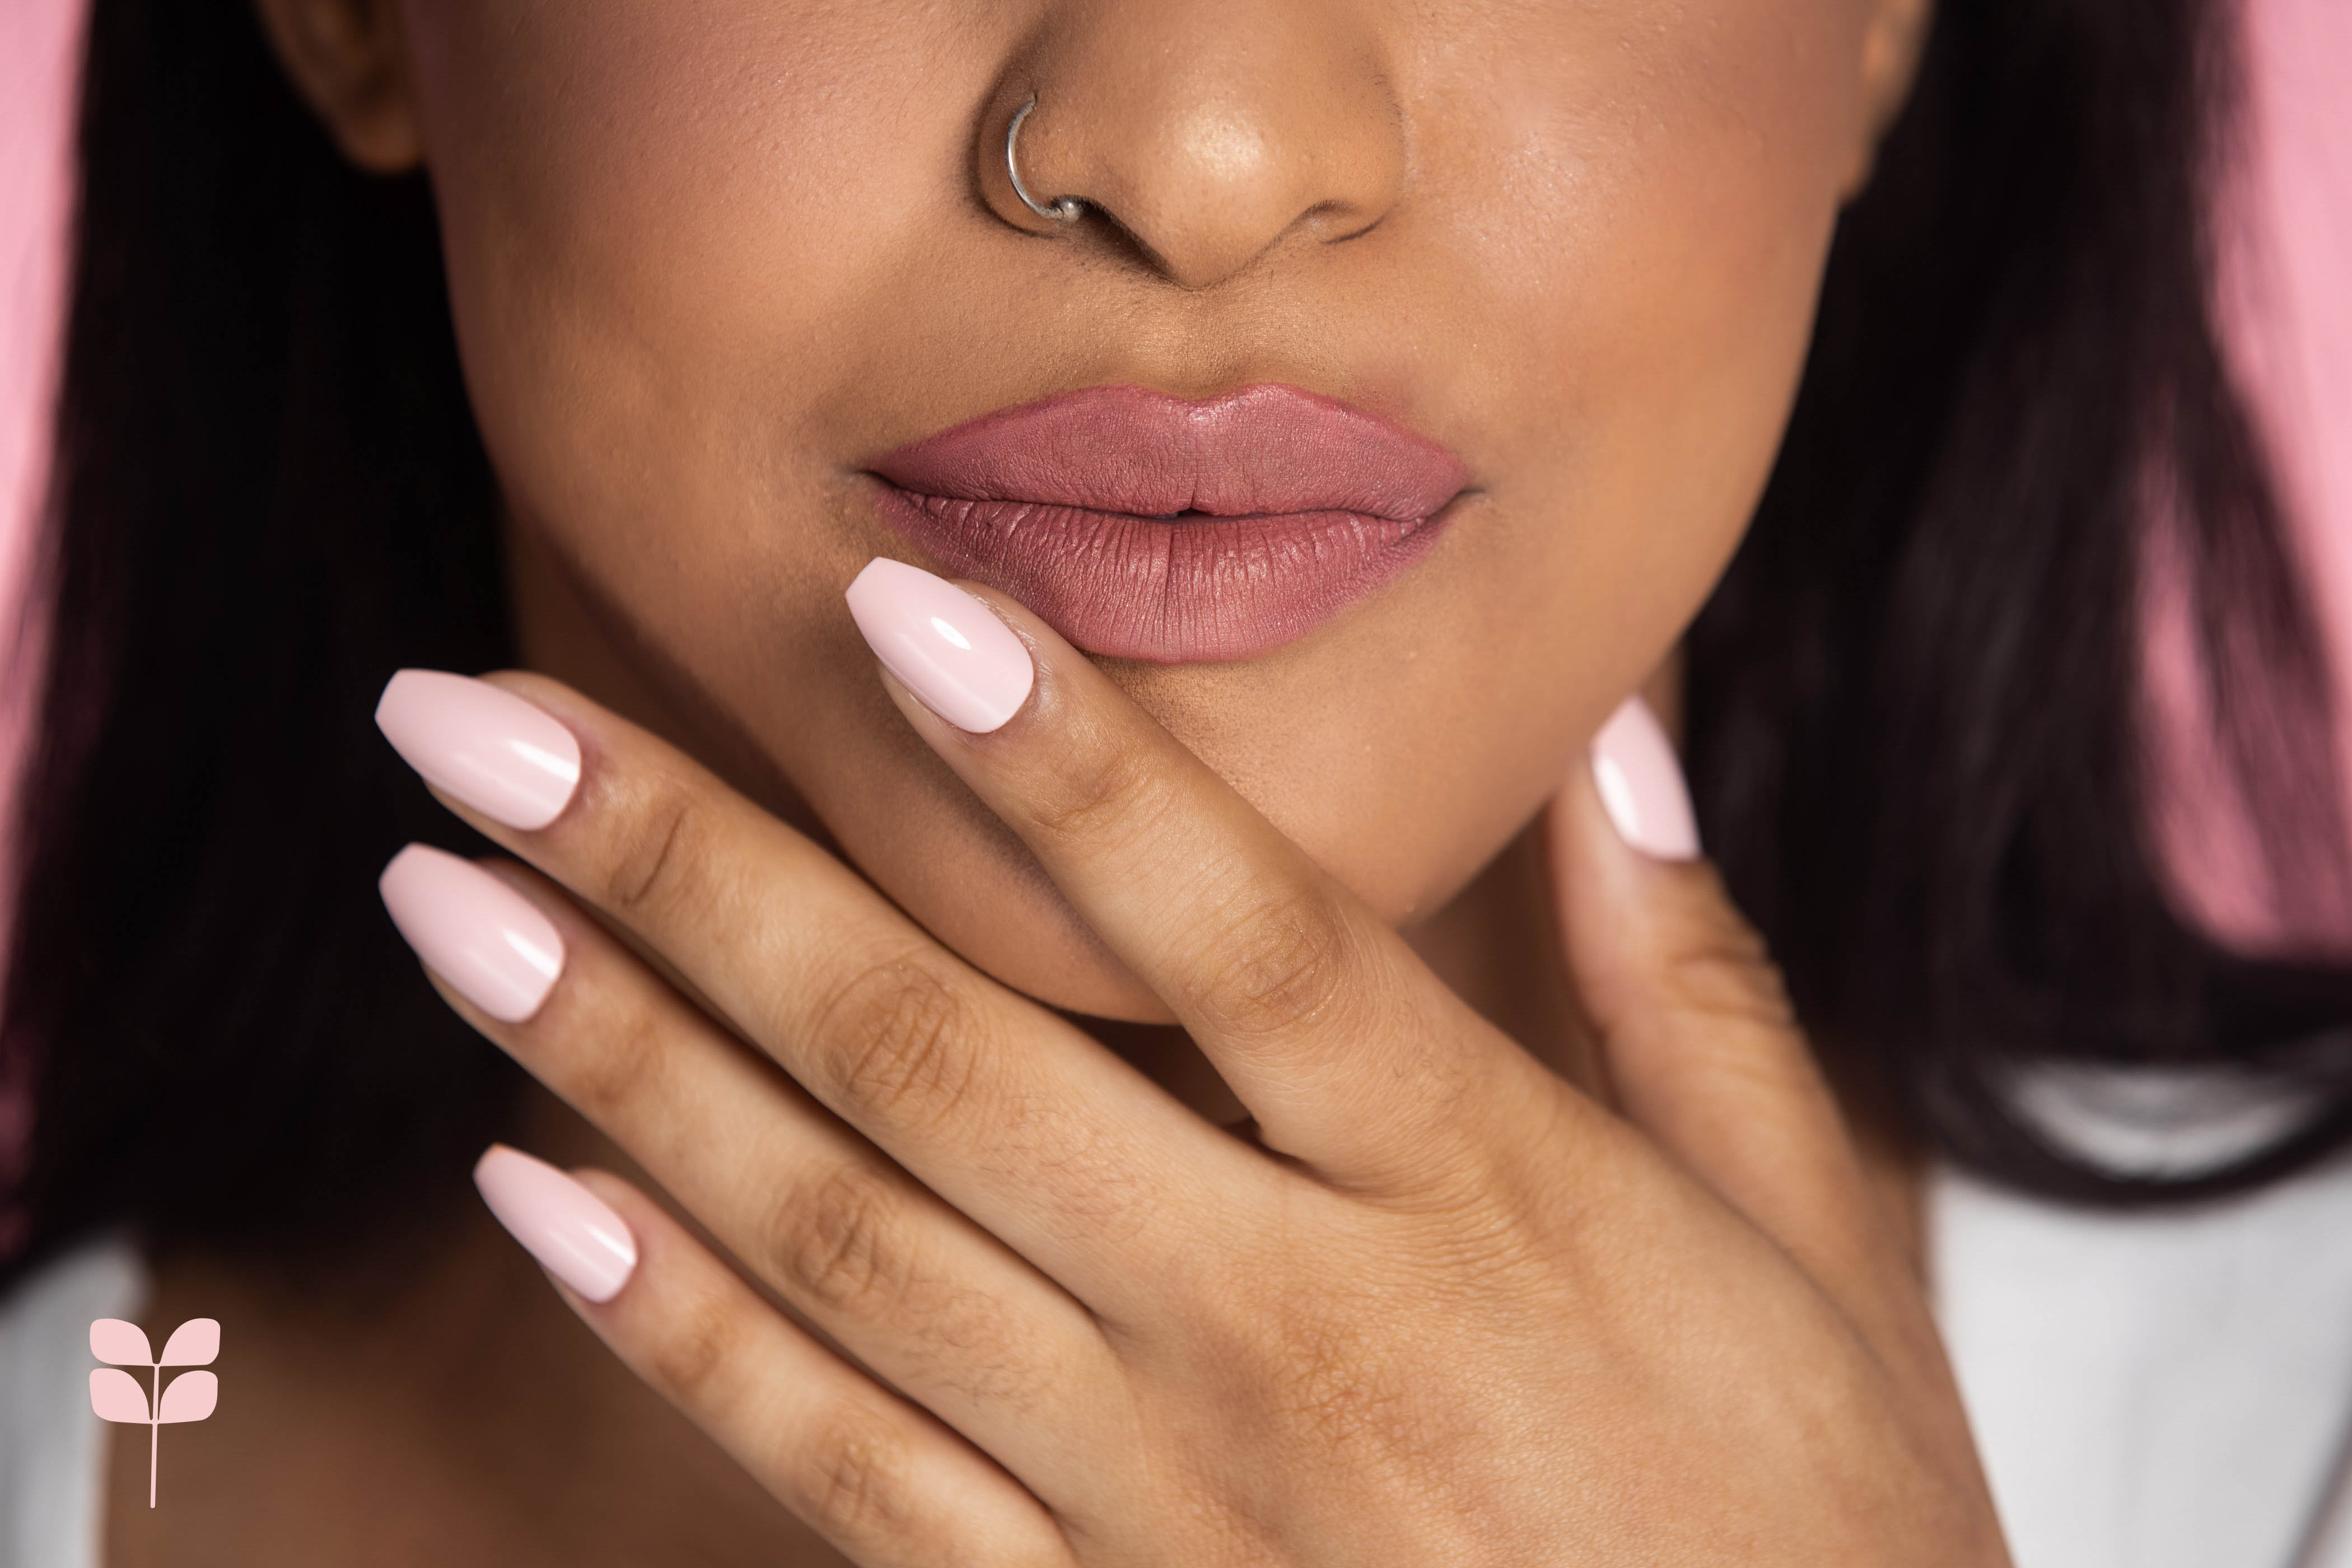
Choosing the appropriate size is one of the most important steps if you want your press-on nails to look real. Compared to some drugstore press-on nails, Red Aspen nails are extremely thin and fit perfectly up to the cuticle, giving them a natural look. Ensuring you have the correct size will make your press-on nails last as long as possible. Each box of nail dashes comes with at least 24 nails, so you will surely find ones that fit your nails! Each nail has a number at the tip of it ranging from 0-9, 0 being the largest and nine being the smallest. New nail dashes that are being released include sizes 0-14 to reach even more nail bed sizes.
If you choose a nail that is too small or too large, you will be more likely to have pop-offs. Lay your press-on nails out in the correct order so you don’t get confused once you begin to apply them. Once you have the best size for you, keep track of it for future applications! You can fill out the form below, and I’ll email you a download to track your nail sizes!
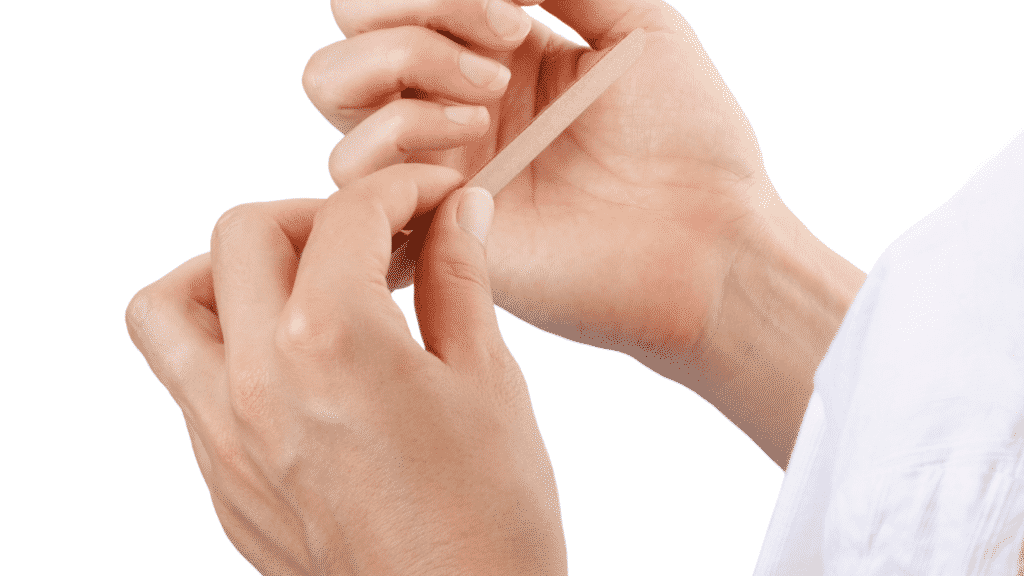
Step 3: Buff Your Nails
The next step is to take the enclosed file and gently buff each nail to rough up the surface. This will help the nail and glue adhere better, reducing the likelihood of pop-offs! This will make your nail dashes last much longer.
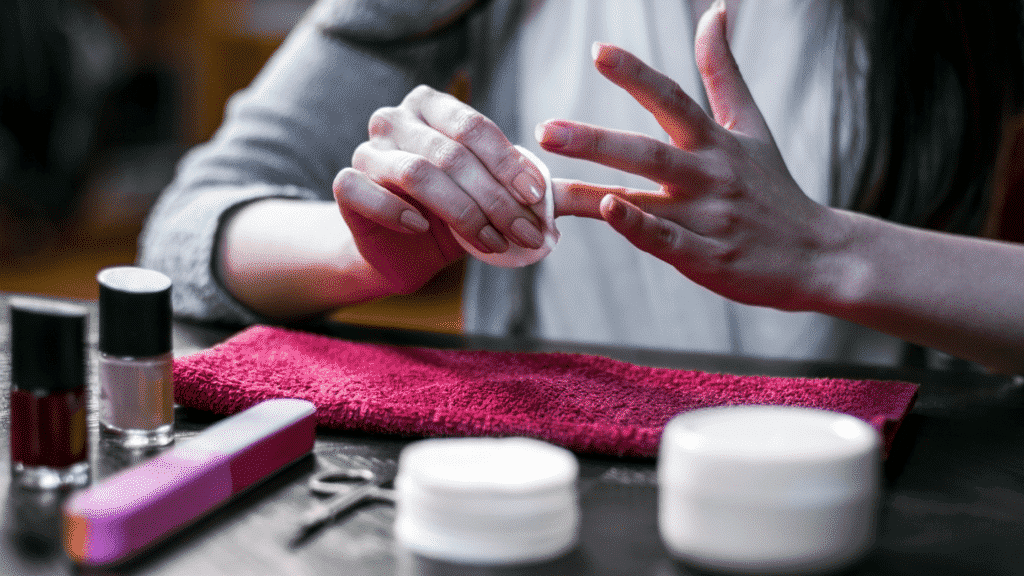
Step 4: Clean Your Nails With Rubbing Alcohol
The last step before applying the nails is cleaning each nail with rubbing alcohol. You want to dry out the natural nail and ensure no moisture. If you leave moisture on the nail bed, you can end up with green nails once you go to take them off. This does not last, but better to avoid it altogether! I like to keep these rubbing alcohol wipes on hand because they are easy to carry and store with your nail dashes. Be sure your nails are nice and dry before you begin application!
Step 5: Apply Dashes
Now it’s time to put them on! I like to start with the pinky on each nail and move inward, ending with my thumbs. First, apply a thin layer of nail glue to your natural nail and the nail dash. I like to take the tip of the glue and spread it evenly across the entire nail. If you want to wear the nails for less time, only use a small glue dot in the middle of the nail! Red Aspen now has a brush on nail glue that you apply, like nail polish. It is life-changing compared to the other glue application process.
When you apply the nail, the number side will go toward the tip of the nail, away from the cuticle. Often people have made the mistake of applying the nails upside down, which will make them pop off sooner. The thinner side of the nail goes near the cuticle.
Apply the nail at a 45-degree angle, and then press the nail on firmly and hold for 30 seconds. I like to ensure no excess glue has come out or gotten on my finger before I press down too hard not to get glue on the top of the nail. If you do feel like excess glue is squeezing out, I grab my rubbing alcohol wipe and wipe it off quickly. Repeat until all of your nails are on!
Step 6: Trim or File Nails to Desired Shape (if needed)
You are ready to rock your amazing new at-home manicure at this point! If you prefer a different shape or size than what you applied, the amazing thing is you have the power to change that! You can either use the enclosed file to file them down shorter or if you have a lot of length to take off, you can clip them with nail clippers and then file them! You can use a regular nail file or a salon-style acrylic nail clipper, which is great for easier cuts across the nail.
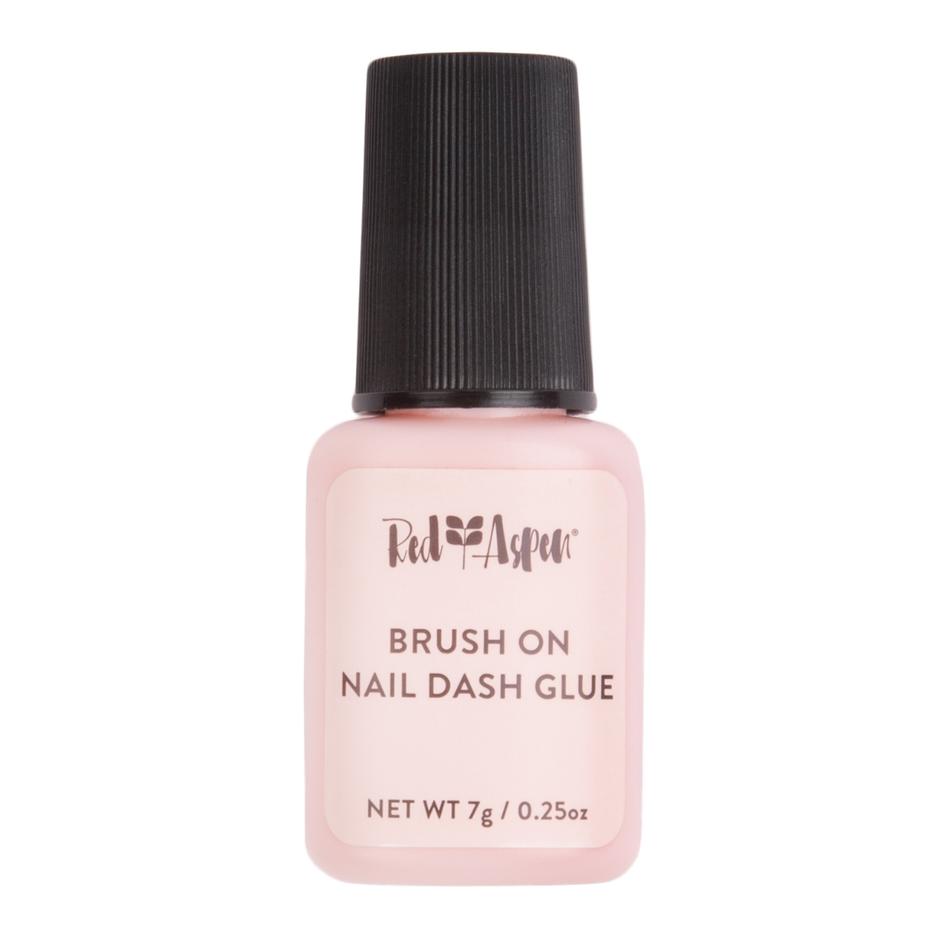
Red Aspen Brush On Nail Glue
As mentioned above, Red Aspen has come out with a brush on nail glue that makes applying press on nails much more effortless. The original glue tubes could get messy, it comes out too fast or slow, and it eventually dries up at the top, making it hard to reuse. The worst thing is having excess glue come out and then getting it on top of the nail, ruining the finish. Once it dries, it is very hard to get off, which is why the nails stay so well! The brush-on nail glue comes in a nail polish-like bottle with 7g adhesive. The application brush gives you way more control over applying the glue, and you can seal the lid tight to prevent the glue from drying out. A must-have.
Red Aspen Nails vs. Color Street
In my opinion, comparing Red Aspen to Color Street is like comparing apples to oranges. The two products do completely different things, depending on your desire. As I stated above, they can even be used together.
Red Aspen Nails will be best if you want to add some length to your nails. I have fragile nails that are constantly breaking, and I can never grow them out, so nail dashes are great.
Color Street are nail polish strips that make doing your nails quick and easy, without worrying about chipping or smudging your polish within moments of applying. They have many designs and colors and apply right to your natural nail. So if you already have natural solid nails and you love the length, Color Street is a great way to go. Also, you don’t have to be concerned about a nail popping off with Color Street.
As I stated earlier, Color Street Nail Polish Strips can also be used with Nail Dashes to give you even more options. If you like the length of nail dashes and the designs of the nail polish strips, mix and match away, and the possibilities are endless.
Unfortunately, Color Street does not have an affiliate program, and I won’t be signing up, but if I had a friend selling it, I would share their link.
How To Keep Press On Nails From Popping Off
If you are wondering how long press-on nails last, it will depend on how you follow the instructions above and your nails. Many get at least two weeks out of theirs (and sometimes more), while others may get closer to 10 days. Some people love changing them so much that they use less glue and change their manis every few days. You can make some pretty adorable mani mix-ups with the different colors and styles they offer! Congratulations, you have found one of the best mom/woman hacks. Salon quality manicures at a fraction of the price and time investment. You can shop the best press on nails here!
I hope these tips for how to apply press on nails were helpful! Please let me know how you love them! If you would like a link to some nail dash cheat sheets and graphics, plus videos of application and removal, you can sign up for my email list here, and I will send it on over with a quick how-to guide and a graphic for tracking your nail sizes! If you give them a try, tag me on Instagram @ABeautifullyFitSoul.
I love nail dashes! However, they have turned my nails green. My first set lasted 10 days, second set lasted 2 weeks. I use a cotton ball with alcohol on each nail before i apply the nail. Its so frustrating because I love them.
Oh no! I have heard of that happening to other people. The number one thing I have heard is that you have to make sure the nail is completely dry. So dry your hands really well and then just a little bit of rubbing alcohol on each nail which is sounds like you are doing but make sure it is completely dry before putting on the nails! It sounds like you are definitely getting them pressed on well enough since they are staying on that long for you! Hopefully you have better luck because they are great!
I have had so many experience with different brands and I love press ons but I’ve found that custom sets really help with longevity! I’m a mom of a toddler. She’s active. I wash dishes clean the house and bathe her daily and yet my pressons stay on 2 weeks!! I kept getting the same results over and over and I now have my go to person! This set was my first one and it has been a great experience. Anyway. It’s super cute. And fit me perfectly. I think that’s why it lasted so long. I put them away for when I’m in that mold for that color. Anyway. Check it out. You’ll thank me later!! https://www.tipsofelegance.com/product/midnight-marauders/25